Changeable Sign Post DIY | Easy Reusable Home Decor Project
As an Amazon Associate and member of other affiliate programs, I earn from qualifying purchases.
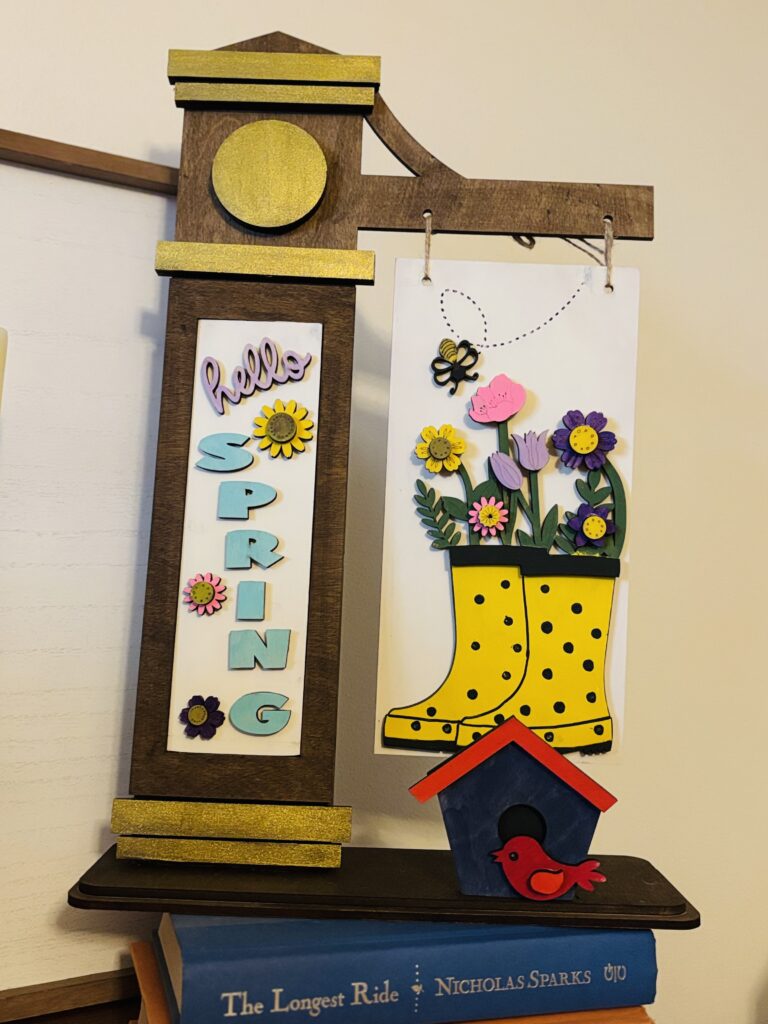
This Changeable Sign Post is the perfect project for you if you are looking to add a personalized touch to your front porch, entryway, or living room that can stay up all year long! Whether you love farmhouse charm, bold seasonal colors, or a neutral modern look — this Spring Signpost from my friend Christina over at The Rust- Covered Cottage by Christina is completely customizable to fit your style.
Plus — the best part — the sign attachment is interchangeable! You can paint or decorate a new piece for each holiday or season without having to store tons of bulky decor. I love all of the different options you can create for each season. How fun and bright is this Spring option I chose.
Materials You’ll Need:
- Wooden Sign Post Cutout Kit (Shop The Rust- Covered Cottage by Christina!)
- Sandpaper (120 or 220 grit)
- Acrylic Paint or Wood Stain (My go-to is Dixie Bell No Pain Gel Stain in Walnut)
- Paint Brushes or Foam Brushes
- Painter’s Tape (optional for clean lines and to hold your little wooden pieces while you paint)
- Wood Glue or your craft glue of choice (Art Glitter Glue or Heavy Body Gel are my favorites)
- Sealer (Polycrylic for indoor, Polyurethane for outdoor use)
- Seasonal Sign Attachments (I used Spring but there are so many different options)
How I Made This Changeable Sign Post:
Step-By-Step Instructions: (There is a video below for you to watch of me making mine.)
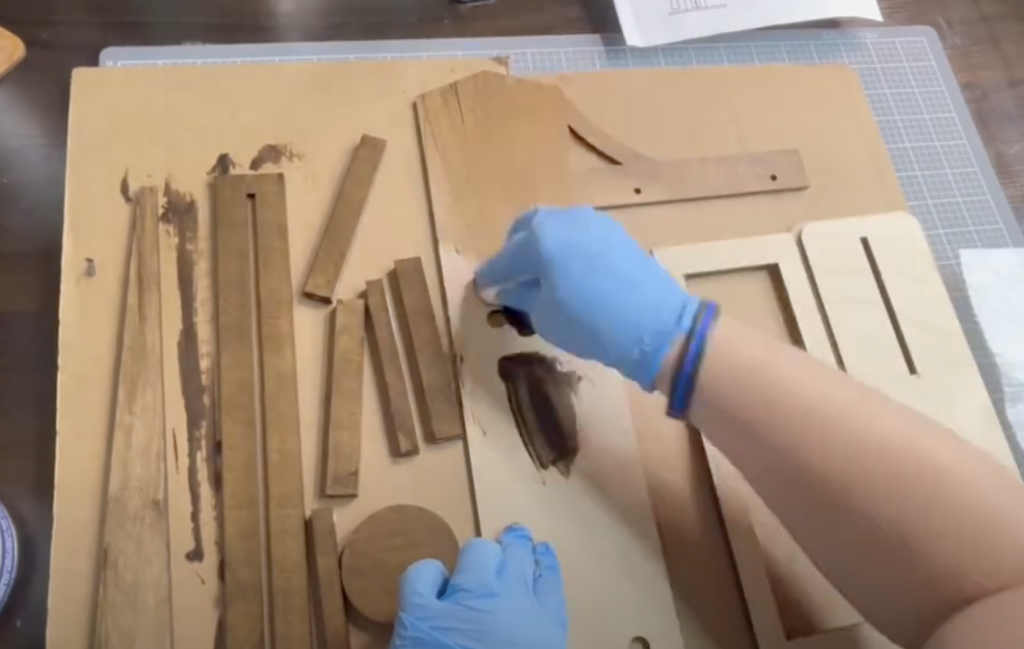
Step 1: Prep Your Wood
Lightly sand all the wood pieces to remove any rough edges or splinters. Wipe them clean with a dry cloth.
Step 2: Paint or Stain
Decide on your base color for the sign post — will it be rustic stained wood, a classic white, or bold black?
*Pro Tip:* Use painter’s tape for clean lines or to block off sections for multiple colors. Also, use painter’s tape sticky side up to hold your little wood pieces in place to make them easier to paint or stain.
Let dry completely.
Step 3: Seal Your Work
Apply a clear protective sealer to keep your sign looking fresh for years to come — especially if displaying outdoors.
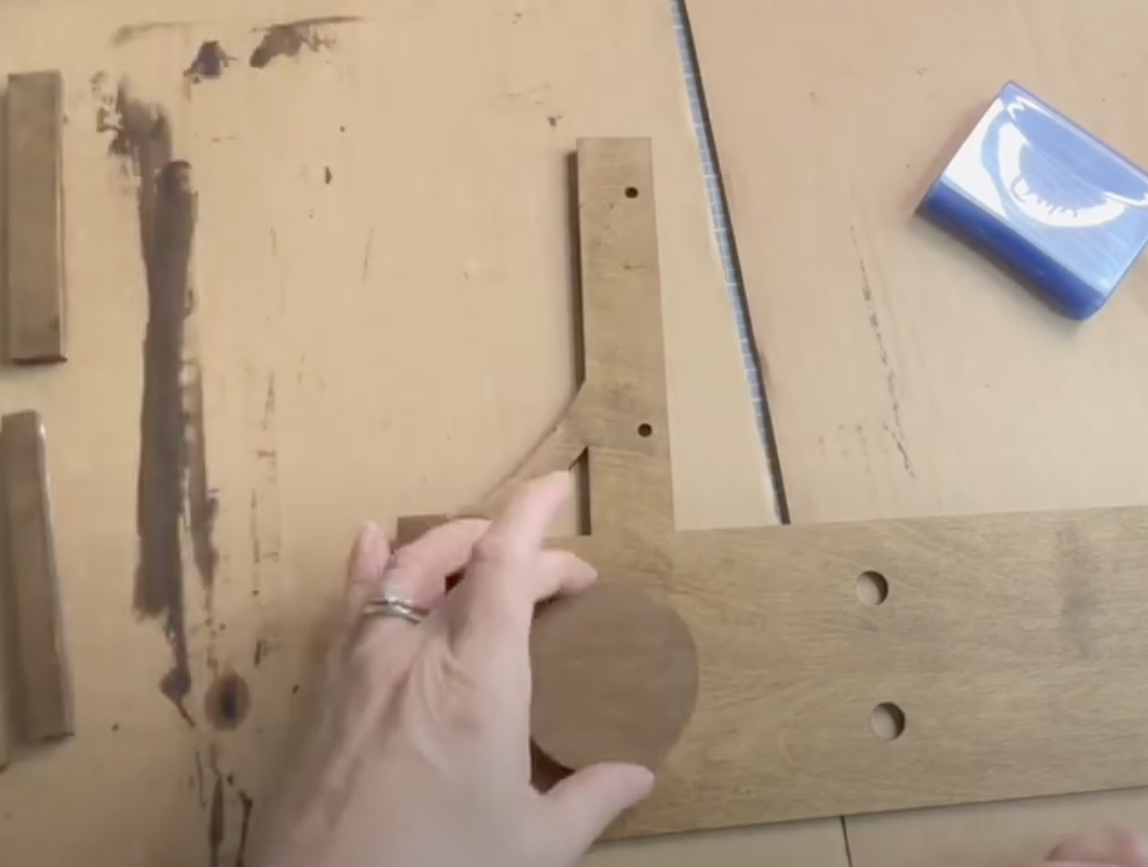
Step 4: Assemble Your Sign Post
Most kits are super simple to assemble and this one comes with very easy to follow instructions with pictures. Just use wood glue or your craft glue of choice (my favorites are listed in the supply list above). I generally don’t recommend hot glue because it will swell when it dries and leaves a bit of a gap.
Step 5: Swap Out Seasonal Signs
Paint and decorate your interchangeable wood cutouts however you’d like! Store them in a small bin or basket when not in use.
Final Touch Ideas:
– Add a seasonal bow or floral accent to the post.
– Create a neutral sign for everyday use (like *Welcome* or your family name).
– Host a paint party with friends to make their own!

You might also like:
Check out more DIY projects and home decor inspiration at SimplyBlessedDesignz!
Don’t forget to tag me on social media @SimplyBlessedDesignz to show off your DIY creations — I love seeing how everyone puts their own twist on projects like this!
About the Host

Hey sweet friend — I’m Ashley, the heart behind SimplyBlessedDesignz and the voice of Unscripted Conversations.
I’m a faith-filled creative who believes in Jesus, Dollar Tree flips, and showing up even when life gets messy. Whether I’m podcasting, crafting, or cooking something from scratch, my prayer is always the same: that you leave here encouraged and reminded you’re never alone.
Grab your coffee, pull up a chair, and let’s do this life—one grace-filled day at a time. 💛