Crackled Farmhouse Cookbook Stand | Chicken Kitchen Decor DIY
As an Amazon Associate and member of other affiliate programs, I earn from qualifying purchases.
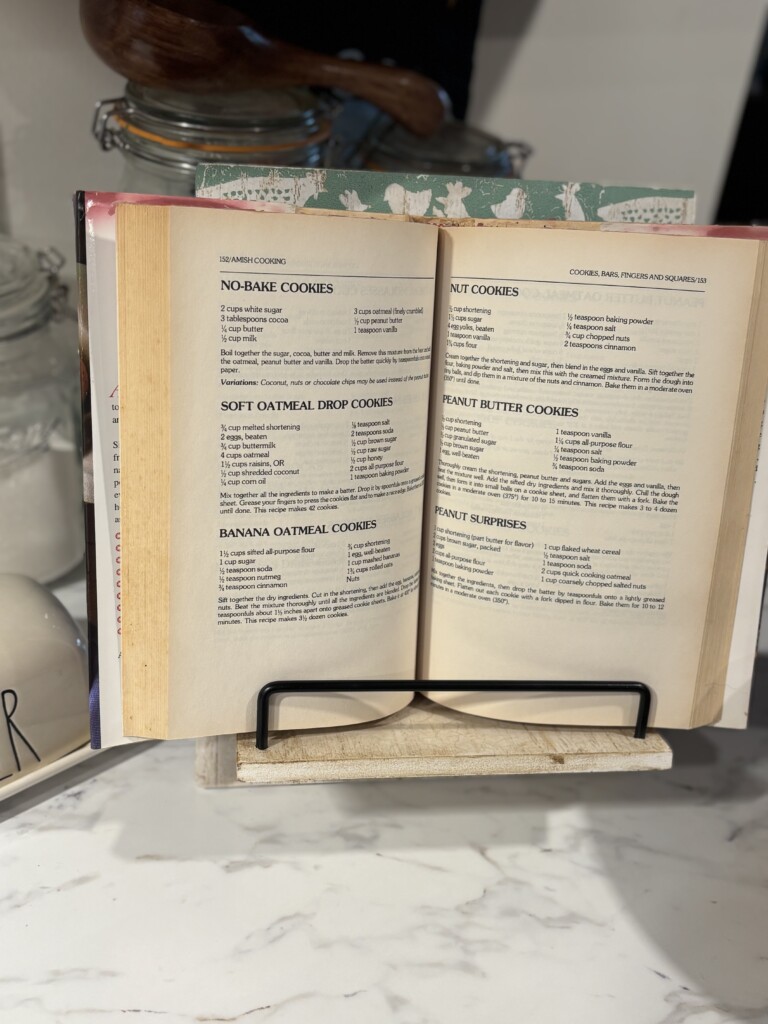
Are you looking for a fun way to add farmhouse charm to your kitchen? This DIY Crackled Modern Farmhouse Cookbook Stand with Chickens is the perfect project! With a crackled enamel finish and adorable eucalyptus green background with chickens, this stand is both beautiful and useful. Even better, it’s an affordable way to turn a plain cookbook stand into something brand new.
Not only does this cookbook stand hold your favorite recipes, but it also makes a modern farmhouse decor piece when not in use. Keep reading to see how you can create your own!

Why This Crackled Farmhouse Cookbook Stand is Perfect for Your Kitchen
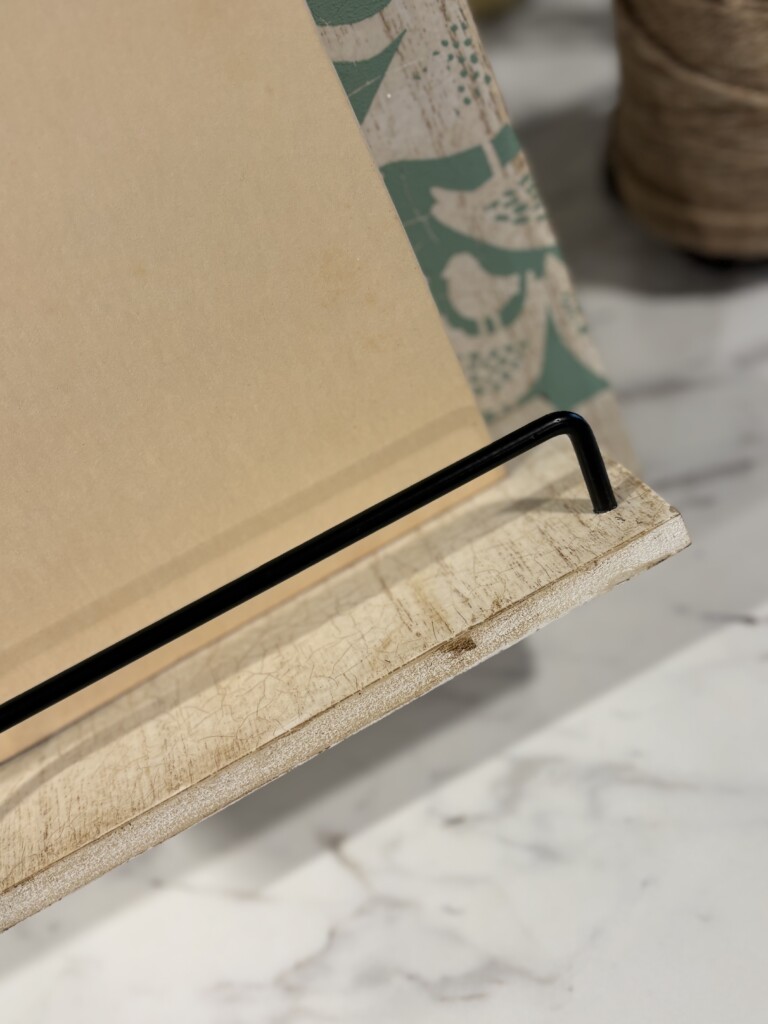
First of all, I love how this cookbook stand adds a pop of color with the eucalyptus green and chickens. It’s farmhouse-style with a fresh, modern touch. Plus, the crackled enamel finish gives it that aged rustic, well-loved look that never goes out of style.
Most importantly, this project is beginner-friendly. Even if you’re new to crafting or crackling, you can make this with a little patience and creativity.
Materials You Will Need to Create This Same Cookbook Stand:
- Wooden cookbook stand or cutting board (The one in the pictures is from my Shop here or thrift store find is great!)
- Crackle medium (I use Pentart Fineline Crackle 2 step system)
- Antique Paste (Mine is Pentart Antique Paste)
- Eucalyptus chalk paste
- Chickens Pattern stencil or chalk transfer
- Paint brushes
- Clear sealer (my go-to is Pentart Clear Varnish in gloss)
- Sanding block or sandpaper
- Lint-free cloth
How I Made This Crackled Farmhouse Cookbook Stand
Step 1: Prep Your Stand
First, clean your cookbook stand with a lint-free cloth. Sand lightly if needed to smooth the surface.
Step 2: Apply Step 1 Pentart Fineline Crackle
Next, with a regular paint brush (I use an older paint brush specifically for this product) apply a thin coat of the Step 1 Pentart Fineline Crackle medium (it is labeled 1 for you) covering the whole surface you would like crackled. Let it dry completely.
Step 3: Apply Step 2 Pentart Fineline Crackle
With a different clean and dry brush, brush on your Step 2 Pentart Fineline Crackle medium according to the bottle instructions. Remember — this should be a thin coat also and make sure not to miss any areas you want to see the cracking effect. Now, grab your heat tool and dry it completely. You may not see the cracks immediately because they are very fine and can be seen by holding it up to the light.
Step 4: Cover your Cookbook Stand with Antique Paste
Once the crackle medium is dry to the touch, grab your Antique Paste and with a paint brush or soft cloth apply your paste onto the areas where your crackle is.
*Pro tip*: A little bit goes a long way. I like to go in every direction, back and forth, up and down, and in a circular motion, making sure not to miss any crackles.
Let your Antique Paste dry for 2-3 mins and then wipe off with a paper towel or a baby wipe.
Step 5: Seal The Crackled Farmhouse Cookbook Stand
After everything is completely dry, grab your Pentart Clear Varnish or clear sealer of choice and give the whole piece a very thin coat. This will just lock in your crackle and make sure it does not continue to crack over time.
Step 6: Add The Chickens
After the clear varnish has dried, use the Chickens Pattern stencil or any available chalk transfer to the cookbook stand after fuzzing it. Fuzzing is an important step. You want to add a little bit of fuzz to the back of your very stick transfer so that it is easier to remove. Now, apply the eucalyptus chalk paste over your transfer. Mine did not cover the entire surface, so I washed my transfer and placed it back down to finish the complete look. (Did you know Chalk Transfers from my shop are reusable after just washing them with water?)
Let it dry completely, either air dry or with your Quick Dry Tool.
Step 7: Finish Crackled Farmhouse Cookbook Stand Off
Finally, seal your stand with a clear sealer for protection. Let everything dry overnight before using.
You have created your very own DIY Crackled Modern Farmhouse Chickens Cookbook Stand.
Final Thoughts
Creating this Crackled Farmhouse Cookbook Stand was such a rewarding project. Not only did I save money by doing the project myself, but I also ended up with a custom piece that fits my kitchen style perfectly.
Whether you display it on your countertop or give it as a handmade gift, this project is sure to bring charm to any space.
Be sure to watch the video tutorial linked below and check out all the pictures for more inspiration!

Check out more DIY projects and home decor inspiration at SimplyBlessedDesignz!
Don’t forget to tag me on social media @SimplyBlessedDesignz to show off your DIY Crackled Modern Farmhouse Stand — I love seeing how everyone puts their own twist on projects like this!
About the Host

Hey sweet friend — I’m Ashley, the heart behind SimplyBlessedDesignz and the voice of Unscripted Conversations.
I’m a faith-filled creative who believes in Jesus, Dollar Tree flips, and showing up even when life gets messy. Whether I’m podcasting, crafting, or cooking something from scratch, my prayer is always the same: that you leave here encouraged and reminded you’re never alone.
Grab your coffee, pull up a chair, and let’s do this life—one grace-filled day at a time. 💛