Joyeux Noel Pillow Case DIY with Chalk Couture Ink
As an Amazon Associate and member of other affiliate programs, I earn from qualifying purchases.
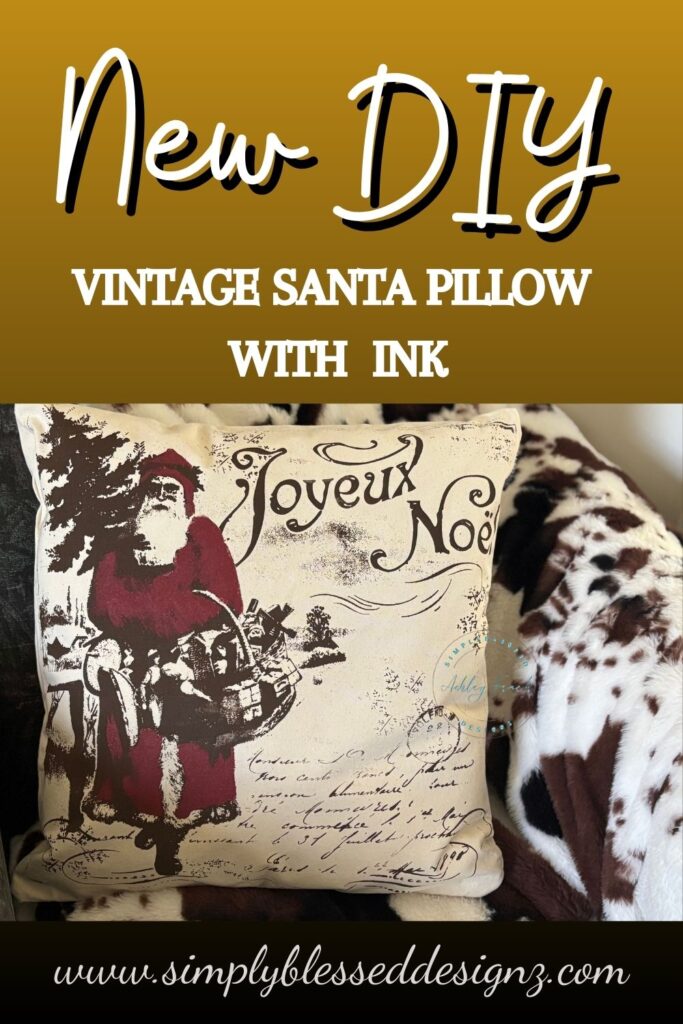
Christmas crafting just settles my soul, y’all. This joyeux noel pillow case started with the Joyeux Noel Santa 18×18 transfer, a simple canvas pillow cover, and Espresso ink. I mixed a copper-kissed burgundy for his coat and it turned out so warm and vintage. Below you’ll find the supplies, the quick steps, and how to heat set so it’s soft and washable.
Watch the video

Supplies for a Joyeux Noel pillow case
- Transfer: Joyeux Noël Santa (or any transfer you like if sold out)
- Surface: 18×18 pillow case + ink mat
- Inks: Espresso Ink; Candy Apple Ink + a touch of Black Velvet Ink + a heaping scoop of Shimmer Copper Ink (for the burgundy coat)
- Tools: small and mini squeegees, stir sticks, painter’s tape, lint roller (for fabric prep)
- Heat setting: parchment paper and a heat press or iron
- Protective: paper or mat under your workspace, baby wipes for quick clean-up
Step-by-step: Joyeux Noel pillow case
- Prep the fabric. Slide the ink mat inside the pillow case and smooth it flat. Lint roll the surface so the transfer sticks well.
- Fuzz and center. Lightly fuzz the transfer, then center it on the pillow. Tape the corners so nothing shifts.
- Ink the base. Load a thin, even layer of Espresso ink over the design. Work in smooth passes. Remove any extra ink.
- Mix the coat color. In a small cup, combine Candy Apple ink with just a slight bit of Black Velvet, then add a heaping scoop of Shimmer Copper and stir well. Aim for a deep burgundy with a soft copper glow. Test on scrap fabric first and adjust with tiny amounts of Black Velvet (deeper) or Candy Apple (brighter).
- Add the shimmer coat. Gently squeegee the burgundy mix over Santa’s coat. Thin layers look richer and help prevent bleed-through.
- Peel and reveal. Lift the transfer slowly. Let the ink air-dry completely before moving on.
Optional Pro Tip:
Pro tip: If the mix feels thick, add a tiny dab of fresh Candy Apple to loosen it. Thin, even passes prevent bleed and keep the shimmer uniform.
How to heat set fabric ink (so it’s washable)
Place parchment (or a Teflon sheet) over the design.
Cricut heat press: 305°F for 30 seconds per section with light pressure. Move across the whole design. Then flip the pillow case and repeat on the back.
Regular iron: set to medium, no steam. Keep the iron moving continuously for 3–5 minutes per side with parchment between the iron and the design.
Let it cool completely. After heat setting, launder according to the care tag. Your Joyeux Noel pillow case is ready for holiday cuddles.
Styling ideas
This vintage Santa shines with cream throws, knit textures, and a touch of copper. I tucked mine on the corner of the sofa with a chunky blanket and a small evergreen. Cozy and classic.
Pin joyeux noel pillow case for later
Check these out next
Elegant Dollar Tree Pumpkin Frame DIY
About the Host

Hey sweet friend — I’m Ashley, the heart behind SimplyBlessedDesignz and the voice of Unscripted Conversations.
I’m a faith-filled creative who believes in Jesus, Dollar Tree flips, and showing up even when life gets messy. Whether I’m podcasting, crafting, or cooking something from scratch, my prayer is always the same: that you leave here encouraged and reminded you’re never alone.
Grab your coffee, pull up a chair, and let’s do this life—one grace-filled day at a time. 💛