Thrifted Frame DIY | $3 Thrift Flip with Rub-On Transfers
As an Amazon Associate and member of other affiliate programs, I earn from qualifying purchases.
Hey sweet friends! If you love transforming old treasures into beautiful home decor, you’re going to love this Thrifted Frame DIY project! Y’all know I can’t resist a good thrift store find — and today I’m sharing how I turned a $3 frame into a stunning floral art piece using a rub-on transfer.
This project was so much fun — and it reminded me how trying new things can stretch your creativity. Let me show you how this Thrifted Frame DIY came together!
Thrifted Frame DIY: From Thrift Store Find to Showstopper
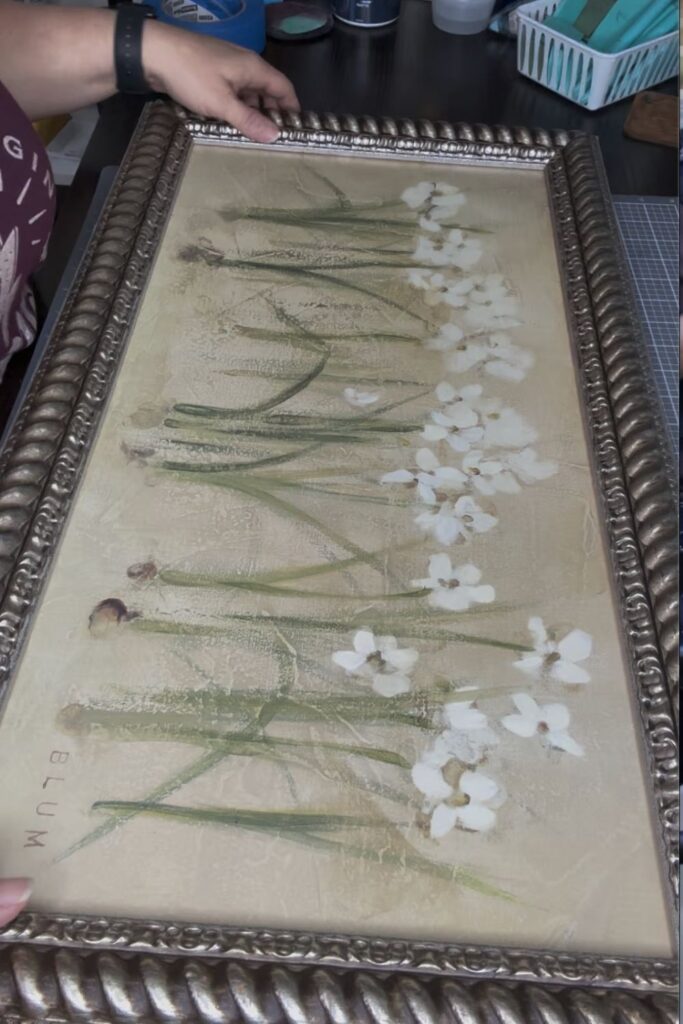
On one of my recent thrift store hunts, I found this large, ornate frame for just $2–3. It was one of those pieces you know has potential—you can just see it in your mind! I didn’t even know exactly what I’d do with it, but I grabbed it and brought it home.
Now let me say — the original print inside this frame was actually quite pretty! (I’ll share a before photo below.) But the space I had in mind for it in my home is a narrow wall, and I needed the artwork to hang vertically. The original piece just wasn’t the right orientation for that spot, so I decided to give it a refresh and create something that would fit perfectly.
And what better piece to practice on than this Thrifted Frame DIY?
How I Prepped My Frame for This DIY Project
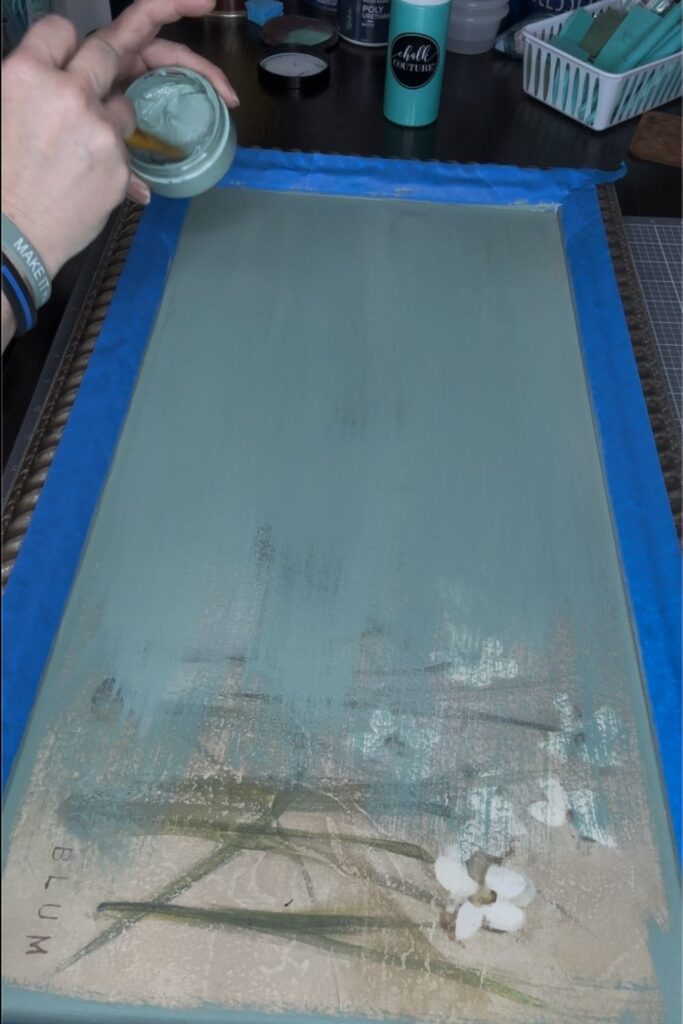
Before applying the transfer, I wanted to refresh the background of the piece (mine didn’t have glass). Here’s what I did:
✨ Applied painters tape around the frame to protect it from paint
✨ Prepped the surface for paint by brushing on a thin coat of Heavy Gesso
✨ Painted 2 coats of Eucalyptus Paste on the background for that soft, pretty base
✨ Sealed it with a light coat of Behr clear varnish to give a nice surface for the transfer to adhere to (I get this at Home Depot)
Let me tell you… painting the background really made the frame pop! That soft green-blue is just dreamy — and made this Thrifted Frame DIY even more eye-catching.
My First Time Using a Rub-On Transfer (And Why You Should Try It!)
This was my very first time working with a rub-on transfer—and I’m hooked on how pretty it turned out! It was so much fun and really easier than I expected. The design I chose was this beautiful floral transfer with soft blue and cream roses, and a subtle vintage vibe. Here is where I get my rub-on Transfers and I can’t wait to create with the other ones I have.
Here’s what I learned with this Thrifted Frame DIY project:
✅ Prep your surface well—the Heavy Gesso helps a lot!
✅ Work slowly and take your time applying it
✅ It’s okay if it’s not perfect—that adds to the charm!
I will say though… while this was super fun to try, I still LOVE my Chalk Couture transfers even more! They’re so easy to use, and the best part is they are completely reusable — which makes them perfect for creating again and again. If you’ve been on the fence about trying Chalk Couture, let me tell you — it’s one of my favorite creative tools!
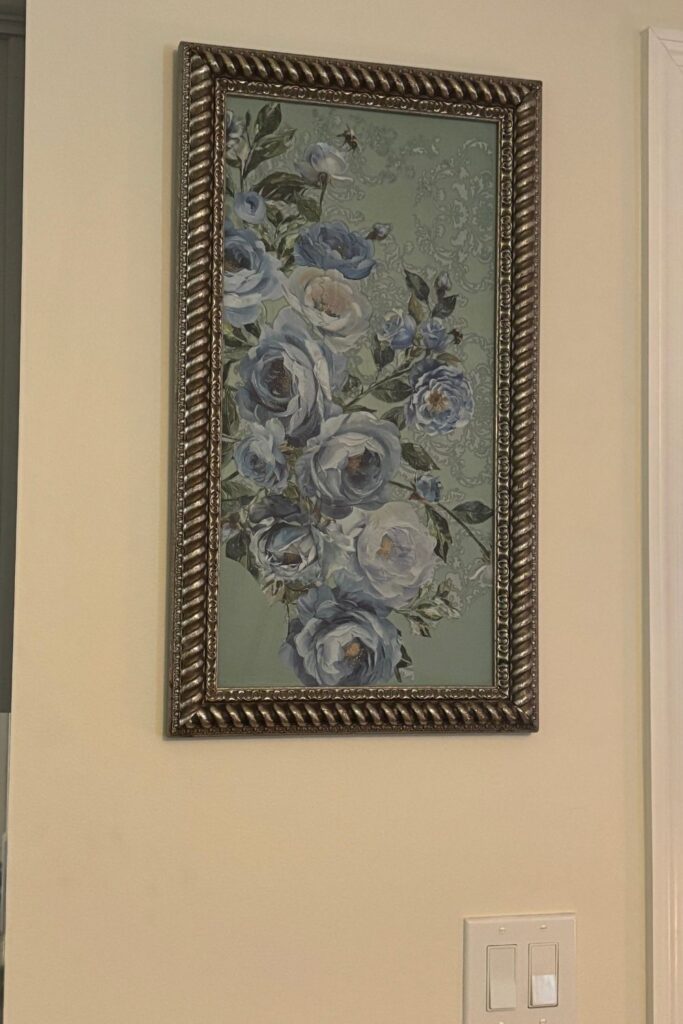
The Final Look of My Thrifted Frame DIY
Y’all… when I was done and put the frame back together, I just stood back and smiled. It turned out even better than I had imagined! I already knew exactly where it would go—a little spot in my living room that needed something special.
This Thrifted Frame DIY project reminded me how much JOY there is in trying new things—even if they feel a little scary or out of your comfort zone.
Why You Should Step Outside the Box with Your DIYs
Friend, here’s your encouragement today:
Don’t be afraid to try something new!
This project was out of the box for me… but it stretched my creativity and gave me a new skill to play with. Whether it’s using a new product, trying a new technique, or tackling a project you’ve never done—just go for it! You might surprise yourself with what you can create. Your next Thrifted Frame DIY could be your new favorite piece!
Supplies I Used for This Thrifted Frame DIY
- Thrifted frame ($2–3 from the thrift store)
- Heavy Gesso
- Eucalyptus Paste (2 coats)
- Behr varnish (light coat before transfer and I get mine at Home Depot)
- Rub-on floral transfer (I used Azure Blossom)
- Basic tools (brushes, transfer stick, etc.)
A Few Tips for Success with Your Thrifted Frame DIY
🌸 Be sure to seal your paint before adding the transfer
🌸 Go slow and press firmly when applying
🌸 If it’s your first time—have fun with it! You’ll learn as you go
Final Thoughts
This sweet little project reminded me why I love DIY + crafting so much. It’s about creativity, about repurposing, about finding joy in the process.
So the next time you’re out thrifting—grab that old frame! You never know what beauty you can bring to life with a little paint, a new technique, and a sprinkle of courage.
Your next Thrifted Frame DIY just might be your favorite one yet!
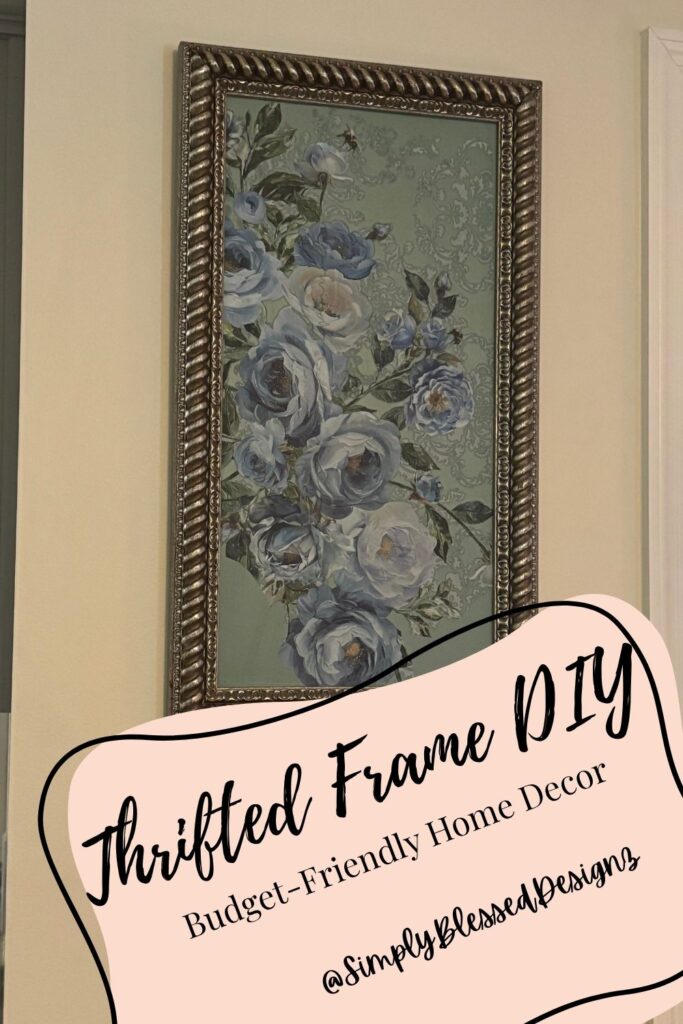
PIN IT FOR LATER:
You Might Also Like:
- DIY Thrift Store Frame Flip: How to Transform an Old Frame with Chalk Paint and Florals
- DIY Crackled Modern Farmhouse Cookbook Stand with Chickens
- My Podcast: Unscripted Conversations with Ashley
Check out more DIY projects and home decor inspiration at SimplyBlessedDesignz!
Don’t forget to tag me on social media @SimplyBlessedDesignz to show off your DIY Crackled Modern Farmhouse Stand — I love seeing how everyone puts their own twist on projects like this!
About the Host

Hey sweet friend — I’m Ashley, the heart behind SimplyBlessedDesignz and the voice of Unscripted Conversations.
I’m a faith-filled creative who believes in Jesus, Dollar Tree flips, and showing up even when life gets messy. Whether I’m podcasting, crafting, or cooking something from scratch, my prayer is always the same: that you leave here encouraged and reminded you’re never alone.
Grab your coffee, pull up a chair, and let’s do this life—one grace-filled day at a time. 💛